By Raghav | |
How I Conquered Low Light Photography in Chennai’s Monsoon
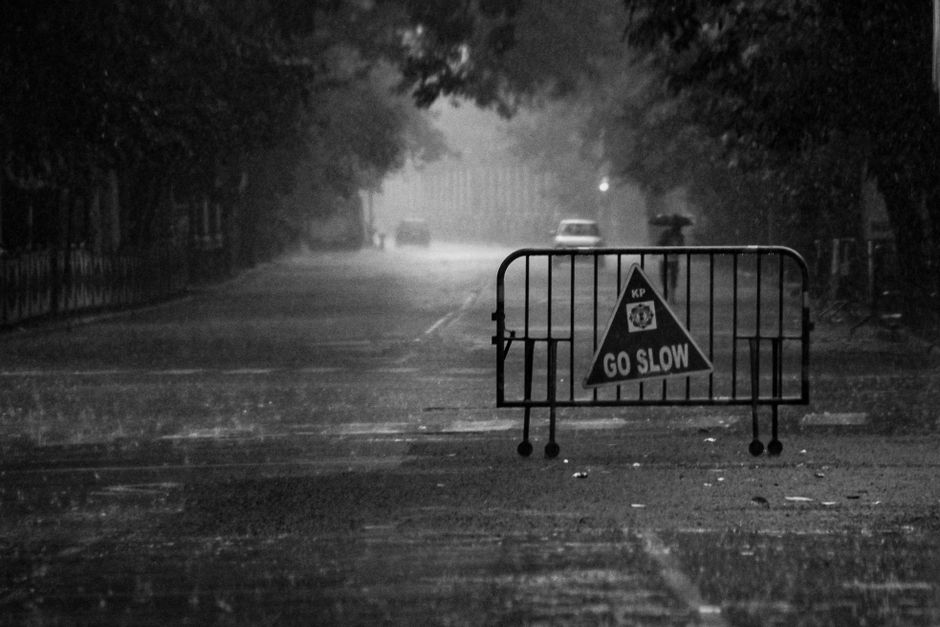
On July 15, 2022, I found myself at the iconic Kapaleeshwarar Temple in Mylapore, Chennai, with dark clouds swirling overhead. The monsoon was in full swing, and I was determined to capture the temple’s intricate architecture despite the challenging light conditions. Armed with my Nikon Z6 and a 24-70mm f/2.8 lens, I embarked on a mission to prove that low light photography doesn’t have to be daunting. Here’s how I navigated those tricky conditions, along with some personal lessons learned along the way.
Understanding Low Light Conditions
Low light photography isn’t just about cranking up your ISO and hoping for the best. It requires a nuanced understanding of light and the ability to adapt quickly to changing conditions. One of my most memorable experiences with this was during a wedding shoot in Coimbatore on December 1, 2021, where the reception was held outdoors as dusk settled in. The venue was lit primarily with fairy lights, creating a magical ambiance but also presenting a challenge for my camera settings.
Gear Choices Matter
Using my Nikon Z6, I was able to push the ISO to 3200 without experiencing too much noise, thanks to its excellent low-light performance. I paired it with my trusty 50mm f/1.8 lens to capture the couple’s first dance. The wide aperture allowed for a beautifully blurred background, emphasizing the couple amidst the twinkling lights. I shot this at 1/250s and f/1.8, which helped freeze the motion while keeping the focus sharp.
Embrace the Environment
In low light conditions, the environment can be your ally. During that wedding, I noticed that the nearby trees provided a natural frame for some candid shots. The ambient light from the fairy lights bounced off the leaves, creating a soft, diffused light that made my subjects glow. I learned that sometimes you need to step back and see how the surroundings can enhance your shot.
Chennai’s Monsoon: A Photographer’s Challenge
Chennai’s monsoon season, typically from June to September, brings a unique set of challenges. The heavy cloud cover can lead to unexpected downpours, making it essential to be prepared. On August 10, 2022, I was at the iconic Marina Beach for a family shoot. The forecast had promised rain, but I went ahead, equipped with a rain cover for my camera and a sturdy umbrella for my clients.
Timing is Everything
It turned out to be one of the most rewarding shoots I’ve done. The rain held off just long enough for us to get some stunning golden hour shots. I set my camera to Aperture Priority mode, using an aperture of f/4 and a shutter speed of 1/200s to capture the soft light filtering through the clouds. The family was playful, splashing in the shallow waves, and I was able to capture genuine laughter amidst the moody skies.
Post-Processing: The Final Touch
Editing is where you can truly enhance your low light shots. I used Adobe Lightroom for this shoot, adjusting the exposure slightly and applying a subtle vignette to draw attention to the family’s joyful expressions. One before-and-after example that stands out is a shot of the kids running along the shoreline. Originally, it was a bit dark, but after lifting the shadows and increasing the contrast, the image transformed into a vibrant memory of that day.
Common Mistakes I Made
As a photographer, I’ve made my share of mistakes, especially during low light conditions. One that stands out occurred during a night shoot at the Valluvar Kottam on March 5, 2020. Eager to capture the monument illuminated at night, I forgot to bring my tripod. As a result, many of my shots ended up blurry due to camera shake. It was a humbling reminder that preparation is key.
What I Learned
From that experience, I learned to always carry a lightweight tripod or at least a sturdy surface to stabilize my shots when dealing with low light. I’ve also become more adept at using my camera’s in-built stabilization features, which can be a lifesaver when a tripod isn’t available. If I had braced my camera against a nearby wall, I could have avoided the blurriness altogether.
Insider Tips for Low Light Photography in Chennai
If you’re planning to shoot in Chennai during the monsoon, here are some insider tips I’ve gathered over the years:
Location Scouting
First, choose your locations wisely. Some of my favorite low light spots in Chennai include:
- Kapaleeshwarar Temple: Best visited early in the morning or during the evening when the temple is lit up. Parking can be tricky, so aim to arrive before 6 PM.
- Marina Beach: The best time is during the golden hour or just after sunset. Be prepared for crowds, and always keep an eye on your equipment near the water.
- Fort St. George: Offers unique architectural elements. Late afternoons are ideal, and you might need permission for professional shoots, so check in advance.
Use the Right Settings
Experiment with your camera settings. A good rule of thumb is to keep your shutter speed at least equal to the focal length of your lens to avoid motion blur. For example, if you’re shooting at 50mm, keep your shutter speed at 1/50s or faster. Also, don’t shy away from using your camera’s manual mode to take full control.
Editing for Impact
Post-processing can make or break your low light photography. I often spend time in Lightroom adjusting exposure and contrast. For shots taken in difficult lighting, I recommend using the ‘Dehaze’ slider cautiously to add depth without losing detail. It’s one of those features that can elevate your low light photos significantly.
Stay Informed About Weather Conditions
Chennai’s monsoon can be unpredictable, so I always check weather apps before heading out. If rain is imminent, I plan for indoor venues or covered locations where I can still capture the essence of the season without risking my gear.
Final Thoughts
Conquering low light photography during Chennai’s monsoon has been a journey filled with challenges and rewards. Each shoot has taught me valuable lessons about preparation, adaptability, and the art of seeing light in unexpected places. Armed with experience and the right techniques, I’ve found that even the most daunting conditions can lead to stunning imagery.
What camera settings are best for low light photography?
For low light photography, it’s ideal to use a wide aperture (f/1.8 or f/2.8), a higher ISO (3200 or more), and a faster shutter speed (at least equal to your focal length) to prevent blur.
How do I reduce noise in low light photos?
You can reduce noise by shooting at a lower ISO, but if you need to raise it, consider using noise reduction software during post-processing. Lightroom has excellent tools for this.
Is a tripod necessary for low light photography?
A tripod is highly recommended for low light photography as it stabilizes your camera, allowing for longer exposures without blurriness. If you don’t have one, find a stable surface to rest your camera.
What are the best locations for low light photography in Chennai?
Some top spots include Kapaleeshwarar Temple during evening prayers, Marina Beach at sunset, and Fort St. George for its unique architecture, especially at night.
As a professional photographer based in Chennai with over 8 years of experience specializing in wedding, portrait, and travel photography, I strive to turn fleeting moments into lasting memories.
Explore more photography tips, stories & inspiration