By Raghav | |

How I Shot Breathtaking Landscapes in Chennai This May
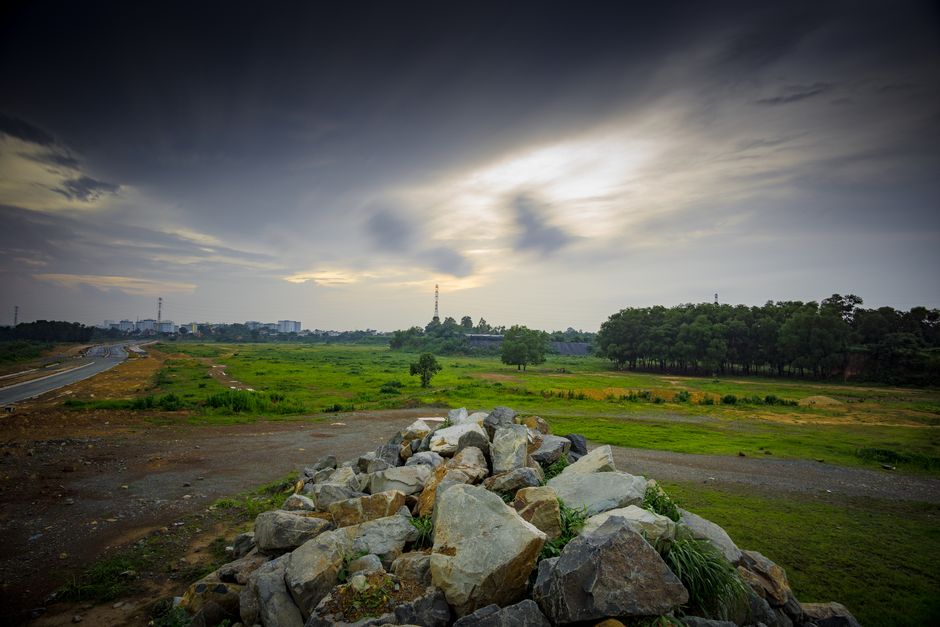
On May 5, 2026, I found myself at the pristine shores of Mahabalipuram, just an hour’s drive from Chennai. The sun was just beginning to rise, casting golden hues over the ancient rock sculptures, and I had my Nikon Z6 II ready to capture the beauty of the moment. As I stood there, the salty breeze tousling my hair, I was reminded why I love landscape photography so much. There’s something about the interplay of light and nature that truly sparks creativity.
Choosing the Right Time and Location
Timing can make or break your landscape shots. During my eight years of experience, I’ve learned that the golden hour—just after sunrise and just before sunset—offers the best lighting conditions. This May, I planned my shoots around this window to maximize the beauty of the landscapes I captured.
Mahabalipuram: A Photographer’s Paradise
Mahabalipuram is one of my go-to locations for landscape photography. On that early morning in May, I arrived at 5:30 AM, well before the crowds. I parked near the Shore Temple (be aware that parking fills up quickly after 6:30 AM). The calm waters of the Bay of Bengal perfectly mirrored the sky, creating an ethereal effect that I aimed to capture.
I set my camera to an aperture of f/8 for a greater depth of field, which allowed me to keep both the temple and the foreground rock formations in focus. The ISO was set to 100 to reduce noise, and I used a shutter speed of 1/125 seconds to freeze the gentle waves lapping at the shore. The result was a stunning image that showcased both the temple and the surrounding landscape, rich in color and detail.
Guindy National Park: Nature’s Hidden Gem
On another day, May 7, I ventured into Guindy National Park, a surprising oasis in the middle of Chennai. It’s not a typical spot for landscape photography, but its lush greenery and varied wildlife offer unique compositions. I arrived around 6 AM, equipped with my Canon EOS R5 and a 24-70mm lens.
The park opens at 5 AM, so getting there early is crucial. I recommend using the main entrance, where you’ll find ample parking. As I walked through the trails, I stumbled upon a beautiful pond, where the morning mist hung low over the water. I set my camera at f/4 to create a soft bokeh effect in the background, isolating the reeds in the foreground. The ISO was again set to 100, and I used a longer shutter speed of 1/60 seconds to capture the delicate ripples on the water’s surface.
Later, when I reviewed my images, I realized I had captured the essence of the park perfectly—the calm, the solitude, the beauty of nature. It was a reminder that sometimes, the best landscapes are found in unexpected places.
Editing Techniques: Before and After
Post-processing is where the magic often happens. After a long day of shooting, I returned home and imported my images into Adobe Lightroom Classic. One photo from the Shore Temple stood out, but it needed a bit of tweaking. The original shot had a washed-out sky and the colors felt muted.
Here’s the before and after:
- Before Settings: Exposure: -0.5, Contrast: +10, Highlights: -20, Shadows: +15, Clarity: +5
- After Settings: Exposure: 0, Contrast: +25, Highlights: -15, Shadows: +20, Clarity: +10, Vibrance: +30
In the end, the sky transformed into a canvas of vibrant oranges and pinks, and the temple was brought to life with deeper contrasts. This is a crucial part of the process that I encourage every photographer to embrace—don’t shy away from editing, as it can significantly enhance the storytelling aspect of your images.
Mistakes I Made
No one becomes a great photographer without making mistakes along the way. I remember a significant blunder I made during a family wedding shoot in Chennai last December. I had planned to capture some beautiful outdoor portraits but failed to check the weather forecast. The day turned out to be cloudy and grey, which completely changed my lighting conditions.
Instead of adapting quickly, I stubbornly tried to shoot as planned, resulting in flat images that lacked vibrancy. I learned the hard way that preparation is key. Always check the weather and be ready to adapt your shooting style based on the conditions. Now, I carry a backup flash for low-light situations, and I’ve become adept at finding alternative angles that can play to the strengths of the existing light.
Best Locations for Landscape Photography in Chennai
1. Marina Beach
Marina Beach is iconic, and for good reason. The long stretch of sand offers numerous opportunities for striking sunset shots. I recommend arriving by 4 PM to scout locations and set up before the golden hour hits. Parking is available nearby, but it can get crowded quickly. The best shots are often found at the rocks near the lighthouse, where you can capture the waves crashing against the shore.
2. Theosophical Society
The Theosophical Society in Adyar is a lesser-known gem for landscape photographers. The sprawling property features ancient trees and a serene lake. I suggest visiting early in the morning around 6 AM. There’s a small entrance fee, but it’s worth it for the tranquility and stunning backdrops. Use a wide-angle lens to capture the grandeur of the banyan trees against the sky.
3. Kotturpuram Bridge
The Kotturpuram Bridge offers a unique perspective of the Adyar River, especially during sunset. I arrived there on May 3 and set up my tripod at the riverbank. The reflections in the water, combined with the traffic on the bridge, made for dynamic compositions. It’s best to shoot from the riverbank, so you have a clear view of the bridge without distractions. Parking is available nearby, but be cautious about traffic when setting up your shots.
Conclusion
Every landscape photographer has a unique journey, and mine has been shaped by countless hours spent exploring the stunning locales of Chennai. This May, I had the opportunity to capture breathtaking landscapes that reminded me of the beauty that exists in our surroundings. From the ancient temples of Mahabalipuram to the lush greenery of Guindy National Park, each location offers its own charm and challenges.
Remember, preparation and adaptability are key to successful landscape photography. Don’t be afraid to dive into editing to bring your vision to life. Utilize the tips and techniques I’ve shared to refine your own skills. With every shoot, we learn and grow, and I hope my experiences inspire you to explore the landscape photography scene in Chennai.
What time is the best for landscape photography in Chennai?
The golden hours—just after sunrise and just before sunset—are ideal for landscape photography in Chennai. The soft light during these times enhances colors and reduces harsh shadows.
Do I need special permissions for photography in public areas in Chennai?
Generally, public areas like beaches and parks do not require special permissions for photography. However, some historical sites may require permits, so it’s always wise to check in advance.
What gear do I need for landscape photography?
A good DSLR or mirrorless camera with a tripod is essential for landscape photography. A wide-angle lens (16-35mm) is also beneficial for capturing expansive scenes, along with filters for managing light.
As a professional photographer based in Chennai with over eight years of experience, I specialize in wedding, portrait, and travel photography. I am passionate about capturing the essence of every moment and sharing my knowledge with fellow photography enthusiasts.
Explore more photography tips, stories & inspiration